
Would you like to learn how to make tutus? Or are you looking to gain practice, branch into the world of craft sales and start your own little handmade tutu business? You can start making your own tutus with small amount of money.
Tutus come in different styles and colors and you could learn how to make beautiful ones compared to the ones you get in shops, which are more expensive by the way.
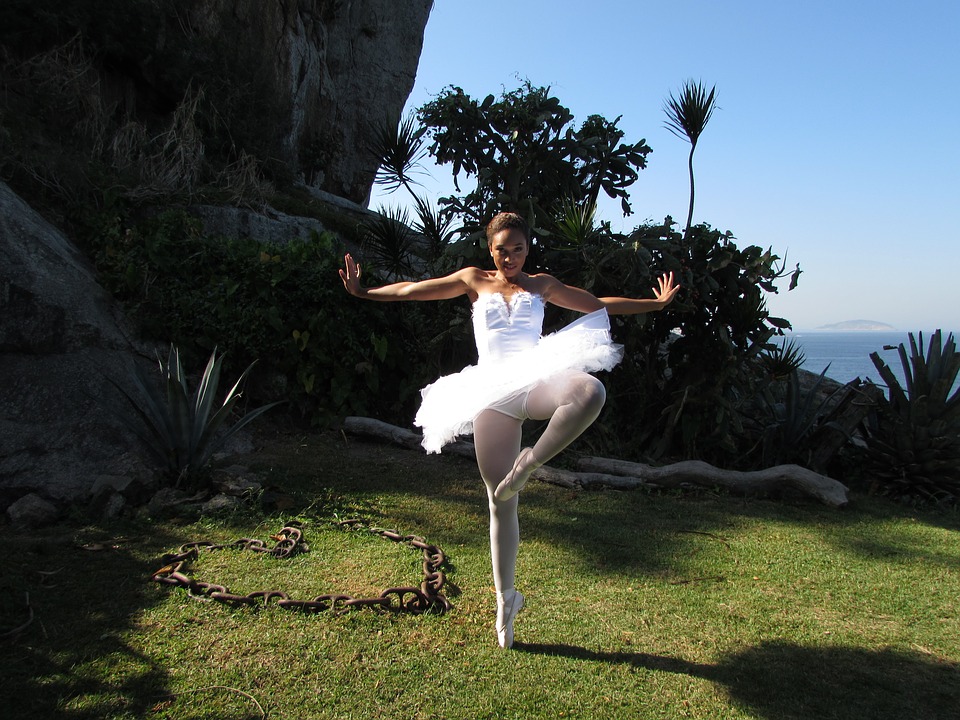
Tutu is a dance costume that can be worn to dance recitals, as a costume party attire, or a jazzy outfit. Materials used for making Tutus are; tulle, scissors, elastic, ribbon, thread, hot glue gun, and pins. Once you have gotten all these materials for making your Tutu, then you are good to go.
Again, when making a tutu, you need to start by selecting the colors you would like to use. For instance, if you are making a tutu for children, you need to consider something bright, vibrant and attractive such as, pink, red, yellow e.t.c.
Steps To Take
Measure Your Tutu Materials
Depending on the age difference, there are some basic sizes you are expected to use. For the waist, measure out the elastic band and for the length, you will be measuring the tulle material. Tie the ribbon around the waist of the person you are making it for by indicating a mark where you would want the bow to be formed. Here are some measurement that would help you have an idea of the size to use for children, depending on their age.
15-16” Waist and 5-6 length Newborn
16-17” Waist and 6-7 length Infant
17-18” Waist and 8-9 length Toddler: (12-24 months)
19-20” Waist and 9-11 length (2-3 years)
21-22” Waist and 11-13 length (4-6 years)
Cut The Tulle Into Stripes
The length of the tulle should be twice as long as your desired length of the tutu. If you are making a tutu, you will need 2-8 yards of tulle and this can be found in any fabric store. Cut a piece of cardboard to your chosen length and wrap your tulle around it. This is much easier than individually measuring and cutting each strip. Begin cutting your tulle according to the lengths above.
Layout Your Ribbon or Elastic
If you are using a ribbon, make sure it matches the tulle or at least compliments it. There are several ways of fastening the strips to the ribbon-you can tie it, glue with a fabric glue or sew them . Put a strip of tulle and fold it into half, make sure it is even and slide the folded part under your ribbon. Repeat this all the way round. With each knot, check for tightness, smoothness and make sure it is even with the other knots.
Closing The Tutu
After the tutu has been completed, take the two ends of the ribbon and form your own bow to close the tutu. Again it depends on how big you want your ribbon to look like.
Decor
You need to find themes for your tutu when it is done. Here you would be making use of colorful buttons attached all round the tutu skirt using the hot glue to make some decorative effect to your work. The glue helps the button to stick to the tulle.
These steps above would give you a practical knowledge of how you can make a Tutu. As the saying goes ”practice makes perfect” Give it a trial today and you will be surprise that making a tutu is much easier than you could ever imagine!


Be the first to post a comment.